

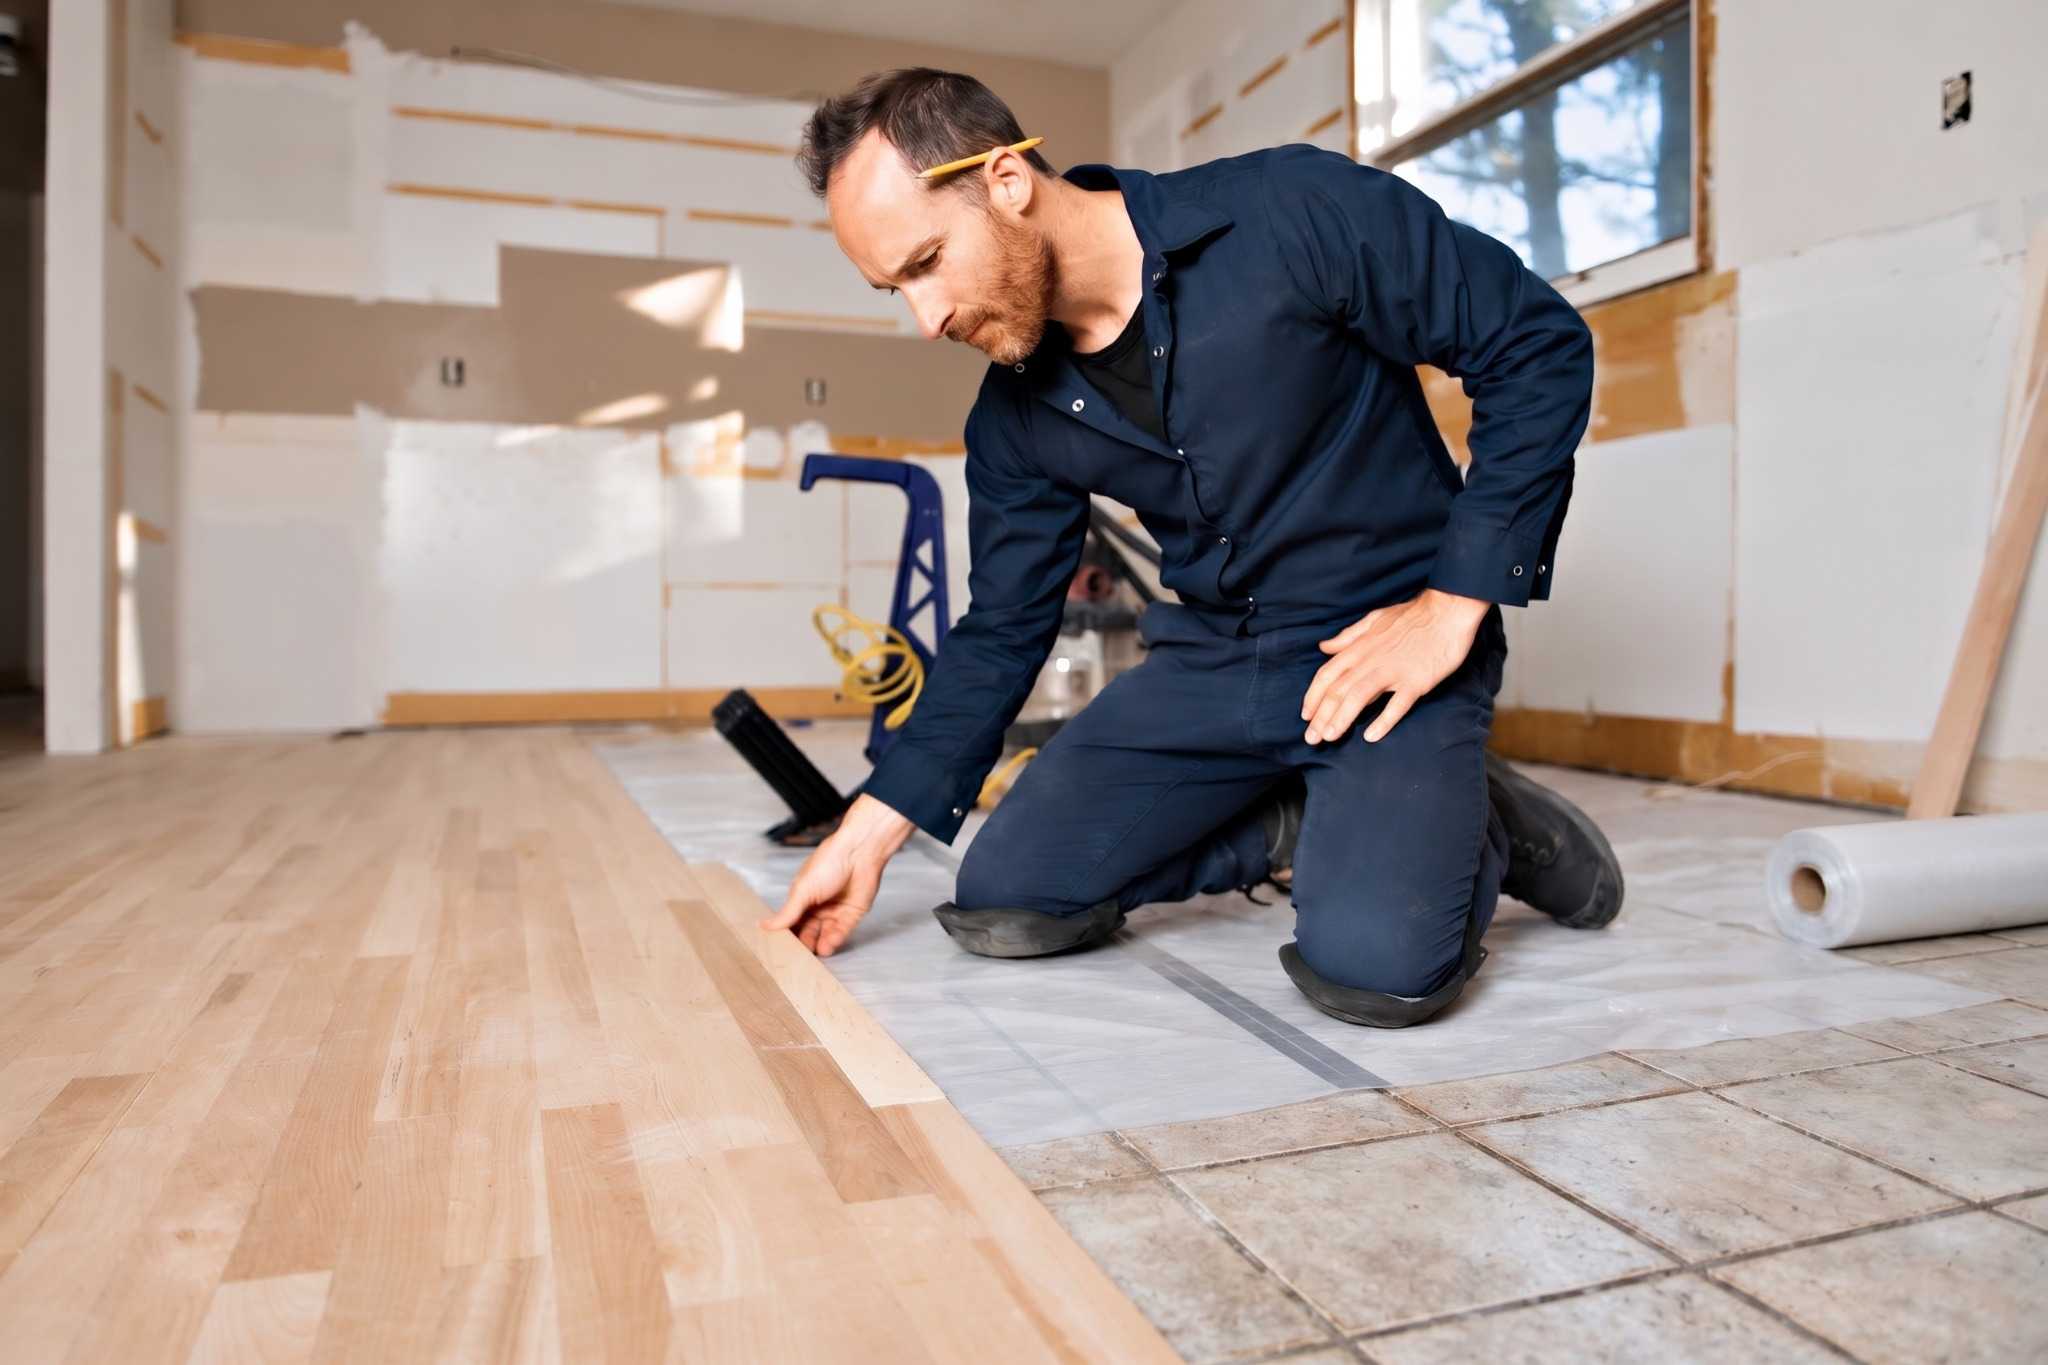
Yes, you can install laminate flooring directly over existing tile. As long as your existing ceramic, porcelain, or stone tile is structurally sound, level, clean, and firmly bonded to the subfloor, laying a floating laminate floor over it is a reliable, cost-effective way to update your space. By installing over your existing tile, you avoid the backbreaking labor, heavy demolition dust, and high disposal costs of tearing up old flooring, allowing you to transform your room in a fraction of the time.
Whether you are updating a mid-century residence in Nevada City, refreshing a foothill ranch in Penn Valley, or remodeling a high-traffic kitchen in Grass Valley, choosing to float laminate over tile offers significant advantages. In Nevada County, where everyday foothill life brings tracked-in red dirt, pine needles, and wet winter weather into your entryway, modern laminate provides the rich visual appeal of natural hardwood alongside superior resistance to everyday wear. At Premier Flooring Center, an employee-owned business serving our local communities since 1990, we help you evaluate your existing surfaces so you can achieve a flawless installation that lasts for years to come.
Why Installing Laminate Over Existing Tile Makes Sense for Your Home
Demolishing an existing tile floor is one of the messiest and most labor-intensive renovation projects you can undertake. Tile demolition creates fine, airborne silica dust that easily travels through heating and air conditioning ducts, settles across living spaces, and requires extensive cleanup. Furthermore, chipping away tile and thin-set mortar frequently damages the subfloor or underlying concrete slab, leading to unexpected repairs before your new flooring can be installed.
When you float a new laminate floor over solid tile, you bypass the chaos of demolition altogether. Modern laminate planks click together seamlessly to create an interlocking floating floor that rests directly over a specialized underlayment pad. You save valuable installation time, preserve your remodeling budget by avoiding dump fees, and keep your daily routine running smoothly. With premium, scratch-resistant laminate options such as Quick-Step, natural walnut visuals, and authentic oak textures, you get the warmth and style of hardwood with the resilience required for your foothill lifestyle.
The Pre-Installation Checklist: Is Your Tile Ready for Laminate?
Before you begin unpacking boxes of planks, you must verify that your current tile provides an appropriate foundation. Laminate flooring requires a flat, stable, and rigid base beneath it. Overlooking subfloor preparation can cause boards to deflect under your footsteps, click-lock joints to separate, or annoying hollow noises to echo across your room.
Check Tile Stability and Bonding
Every single tile must remain securely bonded to the subfloor. Walk across your floor and tap each tile using a wooden mallet or the rubberized handle of a screwdriver. A sharp, solid sound confirms that the mortar bed is intact. In contrast, a hollow or echoing ring indicates that the tile has detached from the subfloor beneath. If you find loose, unstable, or cracked tiles, you must remove them and fill the resulting recess with a patching compound before you lay your laminate.
Measure Floor Flatness and Grout Line Depth
Floating laminate floors can span tiny surface variations, but they cannot bend to fit uneven subfloors. Industry standards require your subfloor to be flat within 3/16 of an inch across a 10-foot radius, or 1/8 of an inch over a 6-foot radius. Place a long straightedge or carpenter level across your room to identify high ridges, sloped sections, or low valleys.
Grout lines require special attention. Wide, deeply recessed grout joints or heavily textured slate tiles leave unsupported gaps beneath your laminate planks. Under the pressure of heavy footsteps, furniture, and pet traffic, laminate planks can flex into these gaps, putting excessive strain on the click-lock mechanisms. Over time, that flexing leads to creaking, joint fatigue, or broken locking profiles. If your grout lines are wider than 1/4 of an inch or deeper than 1/16 of an inch, you need to fill them flat.
Test for Subfloor Moisture
Tile feels solid and impervious, but concrete slabs beneath tile routinely transmit ground moisture vapor. In Sierra Foothills communities like Auburn, Union Hill, and Glenbrook, seasonal weather patterns and winter rain can cause ground moisture levels to fluctuate. Moisture vapor migrating upward through porous grout lines can become trapped beneath your new laminate, potentially damaging plank cores or encouraging mildew growth. Testing your floor for excess moisture vapor before installation protects your long-term investment.
Step-by-Step Preparation: How to Prep Tile Before Laying Laminate
Thorough preparation is the cornerstone of a quiet, beautiful, and durable floating floor. Follow these crucial steps to prepare your tile:
1. Clean and Degrease the Surface: Kitchens, mudrooms, and dining areas often collect grease, wax, dirt, and residue from household cleaners. Scrub your entire tile surface thoroughly using a heavy-duty degreaser and warm water. Mop your floor with clean water afterward to remove lingering cleaning agents, and allow your surface to dry completely.
2. Remove or Repair Damaged Tiles: Use a hammer and chisel to chip out any loose, cracked, or hollow-sounding tiles. Clean away loose debris and old mortar from your exposed subfloor. You do not need to install new tiles in their place; simply patch the empty spots flush with your existing floor using a rapid-setting mortar.
3. Fill Grout Lines and Low Spots: Apply a high-performance, polymer-modified patching compound across deep grout channels and surface depressions. Use a flat steel trowel to feather the material smooth with the top edge of your tile. At our on-site Premier Flooring Center Outlet Center, we carry professional ARDEX patching compounds, setting materials, and leveling products to help you achieve a perfectly smooth foundation.
4. Grind Down Raised Edges: If any individual tiles stick up higher than their neighbors, grind those high edges down with a masonry grinding disc. Be sure to wear a dust mask and safety goggles to protect yourself while grinding.
Underlayment and Moisture Protection: Essential Layers Over Tile
Placing laminate planks directly on top of bare ceramic or porcelain tile is never recommended. Tile is cold, unyielding, and hard, which causes floating planks to rattle and click with every step.
If your laminate planks do not feature an attached backing pad, you must install an approved underlayment over your prepared tile. For tile floors situated over concrete slabs, use an underlayment with a built-in moisture vapor barrier, or lay down a dedicated 6-mil polyethylene plastic sheet before placing your acoustic foam. This underlayment cushions your stride, deadens sound, and prevents moisture from reaching the laminate. On crisp, chilly mornings in foothill neighborhoods like Cedar Ridge and Sherwood Forest, quality underlayment also provides welcome thermal insulation against cold ground temperatures.
Managing Door Clearances, Transitions, and Vertical Heights
Installing laminate over tile adds thickness to your floor. Standard laminate planks range between 8 and 12 millimeters in thickness, and when combined with a 2 to 3 millimeter underlayment, your overall floor height will increase by approximately 3/8 to 1/2 inch.
You must plan for this elevation change before you install your planks. Inspect every door leading into your room. You will likely need to remove your interior doors and trim the bottoms so they swing open easily without scraping your new floor. Use an oscillating multi-tool to undercut door casings and jambs, allowing your laminate to slide underneath with room for natural thermal expansion. Furthermore, verify that kitchen appliances like dishwashers and slide-in ranges maintain sufficient clearance beneath your countertops.
Bridge height differences between your rooms using coordinating transition moldings. A T-molding bridges doorways between floors of identical height, while a reducer creates a gentle slope down to lower surfaces such as sheet vinyl or low-profile carpet.
When Should You Remove Old Tile Instead?
Although installing over tile is often the fastest and most practical route, certain conditions call for complete tile removal:
Widespread Tile Failure: If more than 15 to 20 percent of your tile floor is loose, tented, or cracked, your underlying subfloor likely suffers from excessive deflection or structural weakness.
Severe Height Conflicts: If elevating your floor prevents your exterior doors from opening outward, blocks your sliding patio doors, or locks your dishwasher beneath fixed countertops, tearing out the tile is your safest option.
Multiple Prior Flooring Layers: If your tile is already sitting on top of an older layer of vinyl or linoleum, adding another floor layer creates excessive weight and awkward transitions that compromise your door clearance and safety.
The Employee-Owned Advantage with Premier Flooring Center
Since 1990, our employee-owned team at Premier Flooring Center has helped you navigate every stage of your flooring journey. Because we are an employee-owned business, every team member has a personal stake in your project. We take pride in delivering honest recommendations, competitive quotes, and meticulous subfloor preparation that protects your home for decades.
From exploring our main design showroom to browsing closeouts and overstock values at our on-site Outlet Center, you will find options that match your lifestyle and budget. You will feel comfortable, relaxed, and welcome the moment you reach out to our team.
Stop by our showroom and Outlet Center in Grass Valley, arrange a convenient Shop at Home consultation, or contact us today to schedule your free in-home measurement and estimate. We are proud to serve you throughout Grass Valley, Nevada City, Penn Valley, Auburn, Glenbrook, Union Hill, Cedar Ridge, Sherwood Forest, and all of Nevada County, CA.


